
Sometimes I just get a wild hair to bake something. Today was one of those times.
Actually, the idea came to me last night to make zucchini bread. There were three small zucchini in the fridge that needed to be used up. I considered zucchini brownies, but I have made those before and I wanted to try something new. I fired up the laptop, logged on to my Pinterest bread board and pulled up this recipe. (Stay tuned for another post someday–perhaps soon–when I try the Amish Cinnamon Bread recipe I also have pinned there.)
I chose this particular recipe for zucchini bread because with just a quick glance I could see that it only used standard, easily accessible ingredients. There are days I like to try recipes that require a lot of improvisation and substitutions because of the limitations of what I can access here in Tanzania, but today I just wanted easy.
Zucchini are very easy to find here, so I was good to go.
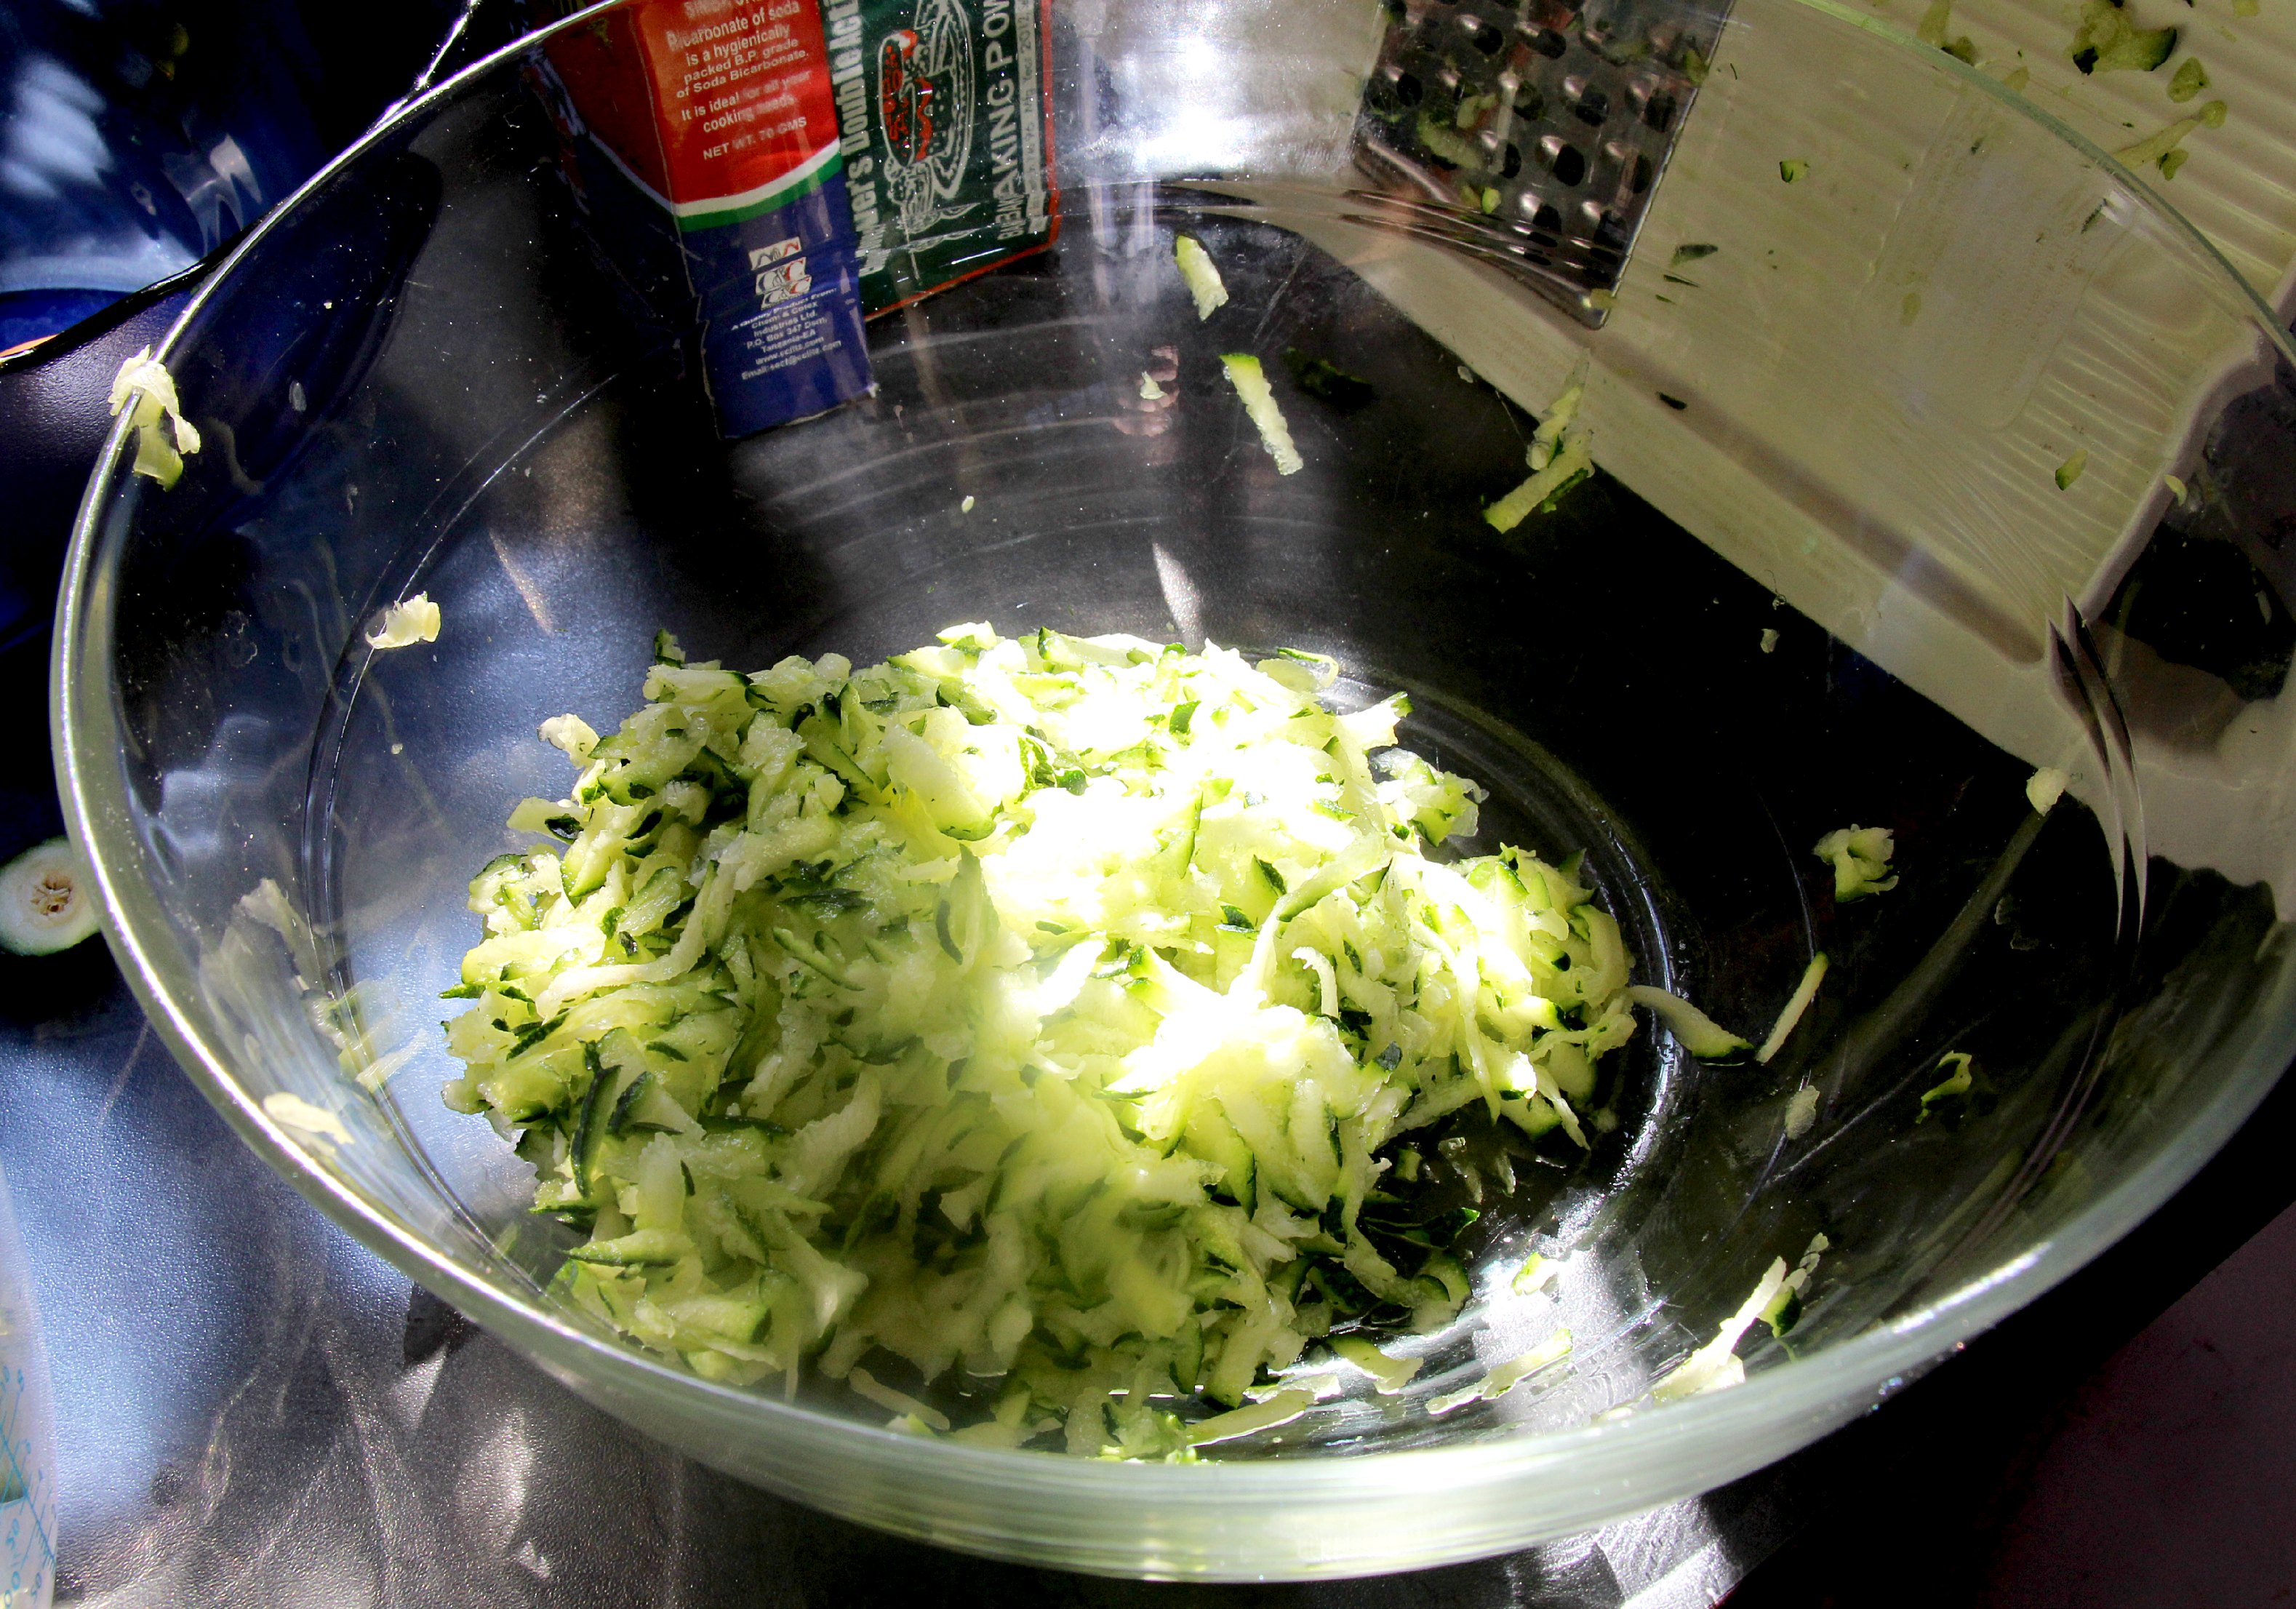
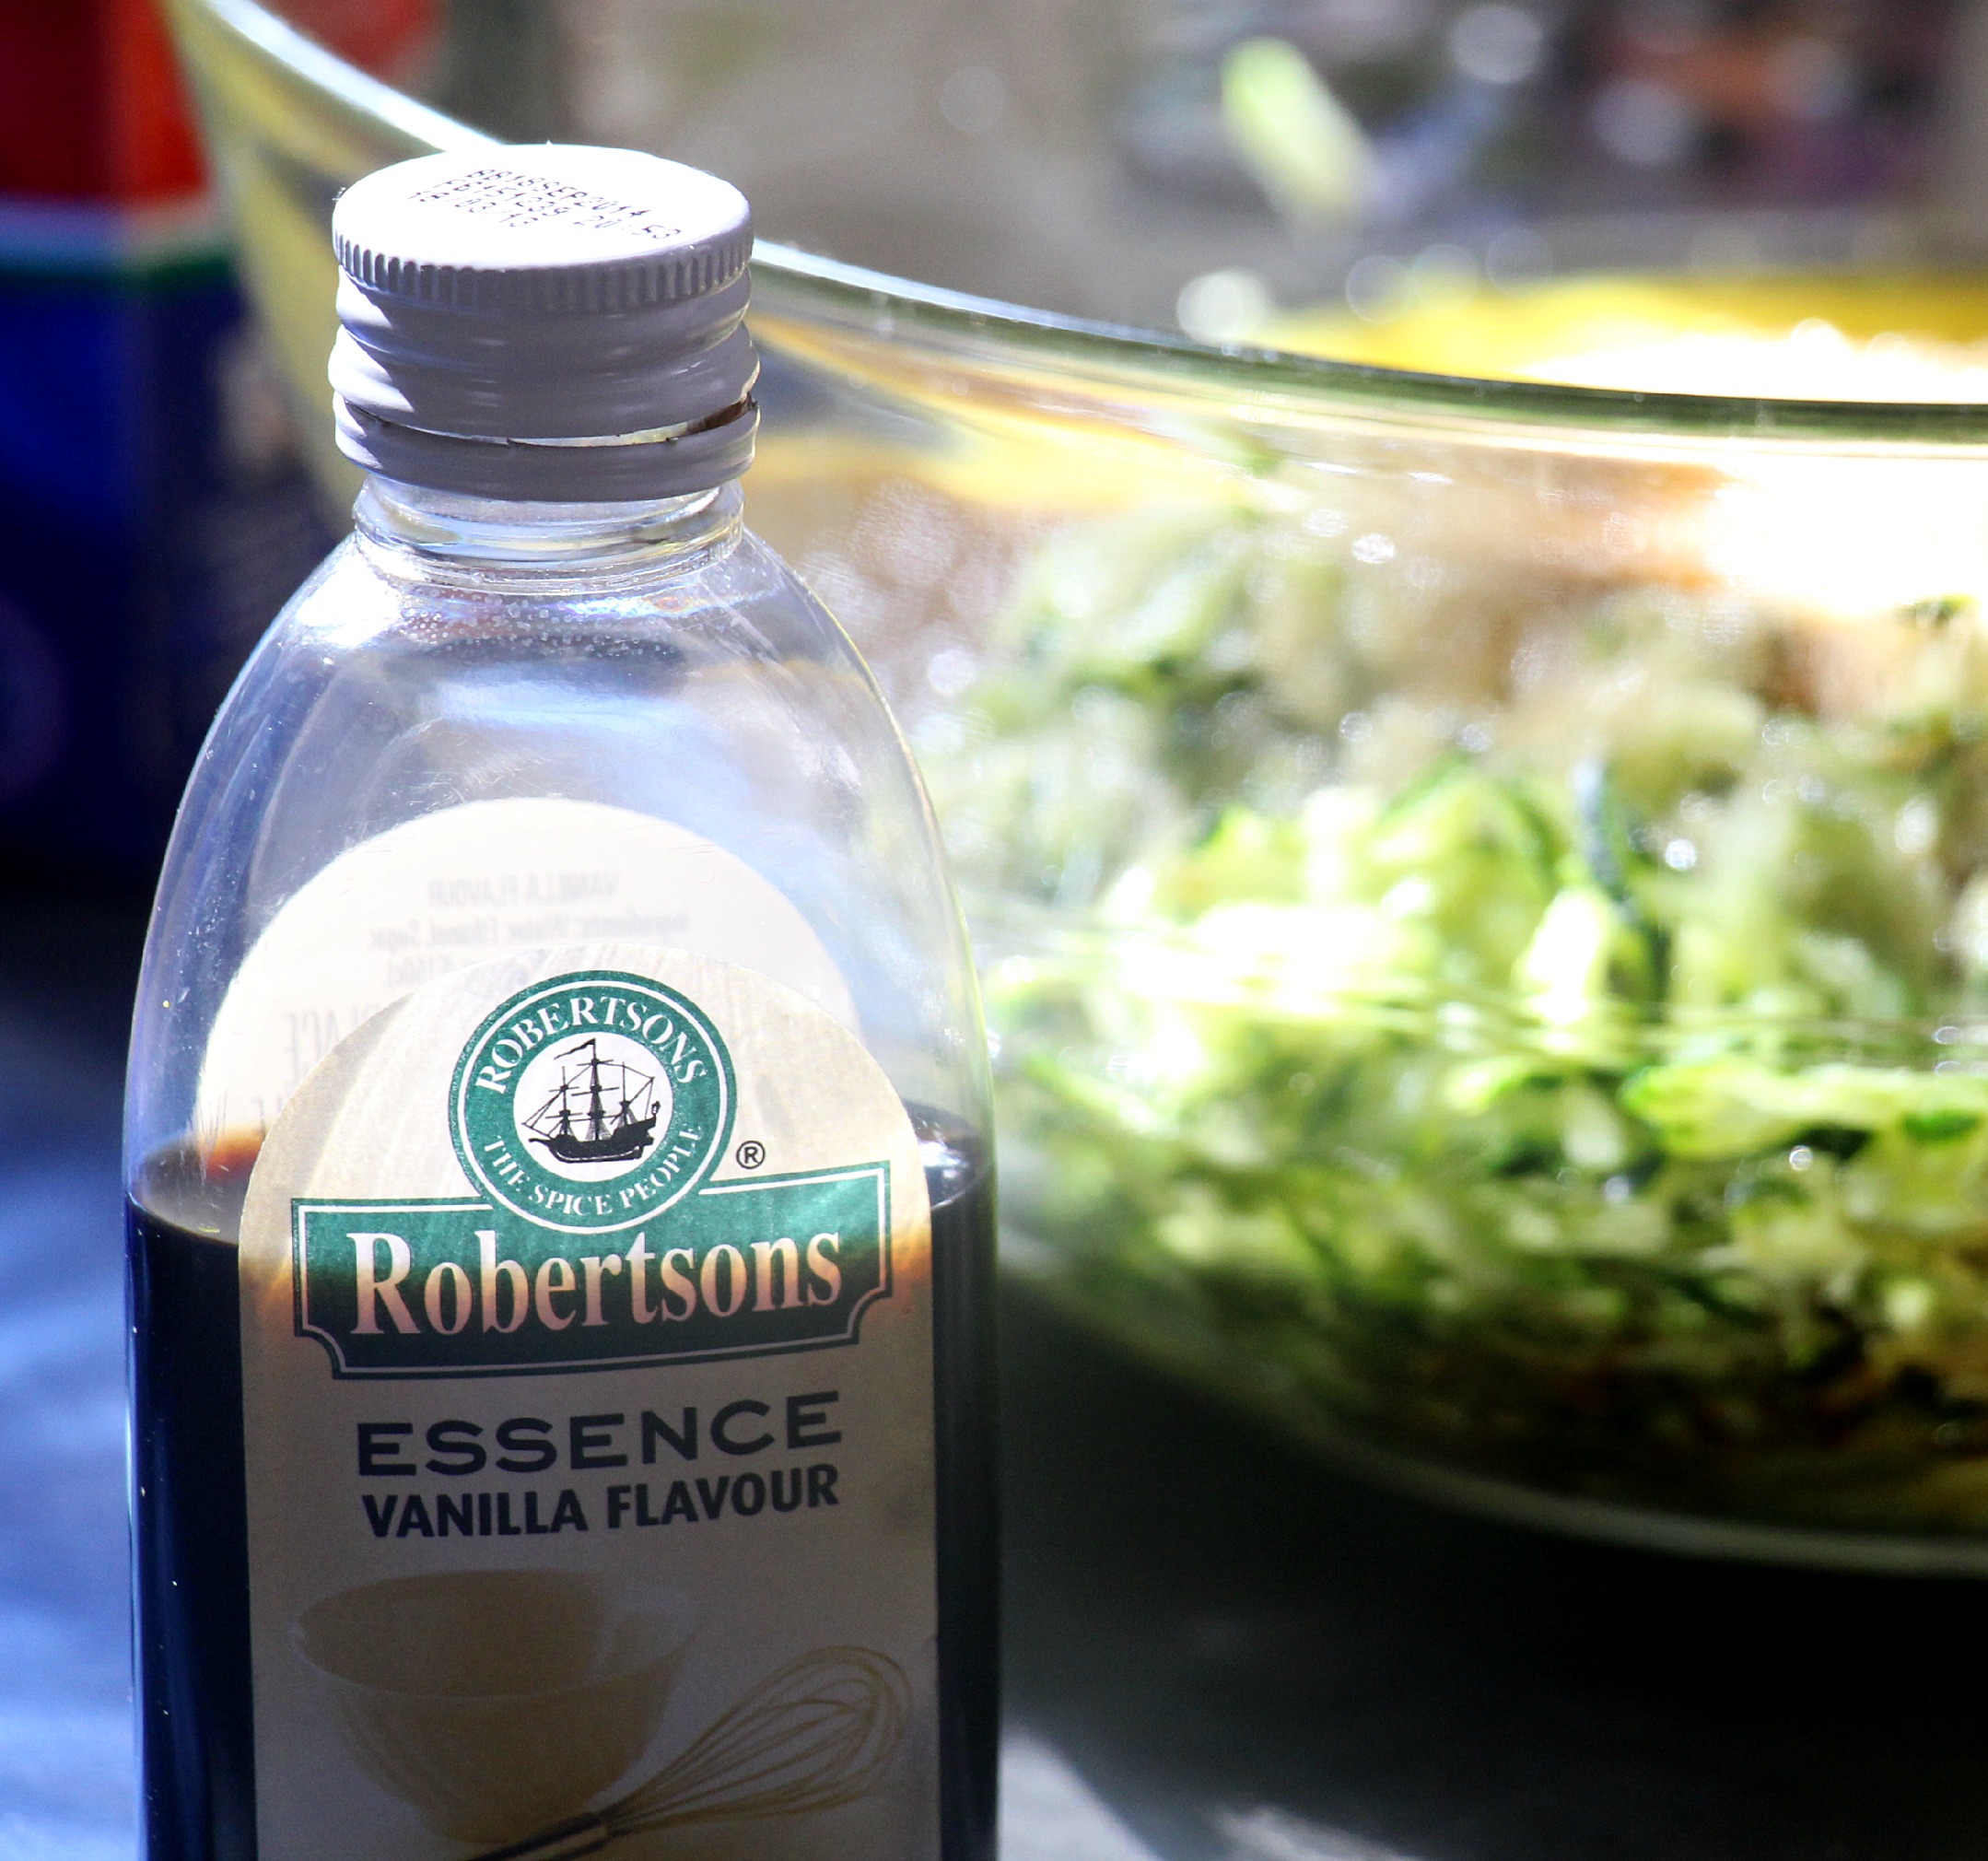
There were still some slight variations from what the recipe called for, though. For instance, you can only buy what’s called vanilla flavour essence here, rather than vanilla extract. I really don’t know what the difference is, so I just use it in place of extract.
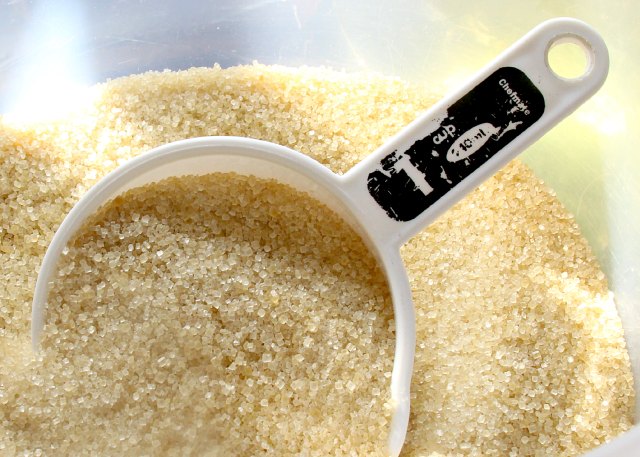
Sugar cane is grown in Tanzania so you typically see cane sugar in the supermarkets. It’s not always easy to find white granulated sugar so when I see it I stock up. I used the last of my supply on cranberry scones a few weeks ago so I took a chance on the cane sugar.
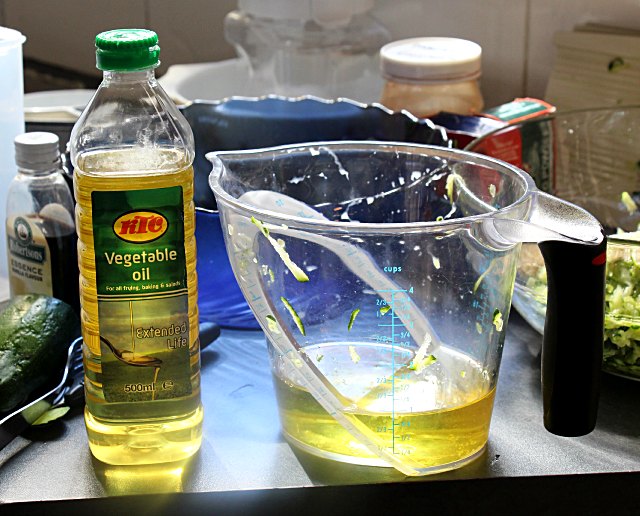
 Sunflowers are also grown in Tanzania, therefor the common type of oil available in stores is sunflower oil. That works well for a lot of things, but I’ve found in baking its flavor is too strong. So I keep a little supply of vegetable oil on hand for baking purposes.
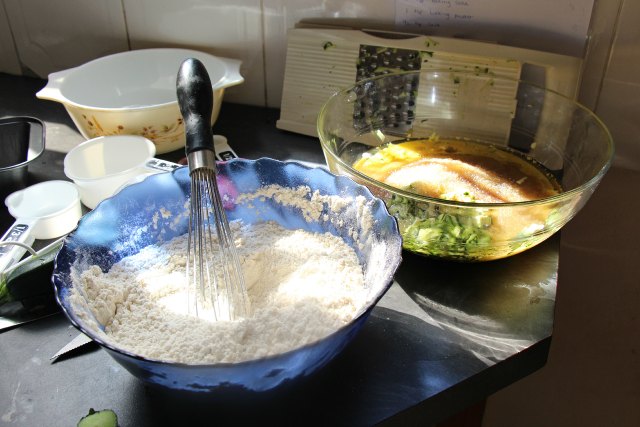
 The recipe was easy to follow. It was more-or-less mix the wet ingredients, mix the dry ingredients, mix the two together. The sugar went into the wet ingredients which was good since the granules in cane sugar are bigger than in beet sugar. So it gave the sugar a chance to break down and dissolve some to prevent a grittiness in the consistency of the bread.
 Keeping an accurate and consistent temperature is quite difficult with our oven so I have to be very careful with baking. The recipe called for 60 minutes in a 350-degree oven. I set my timer for 20 minutes at a time so I could monitor the progress and make sure the oven temp was staying consistent.
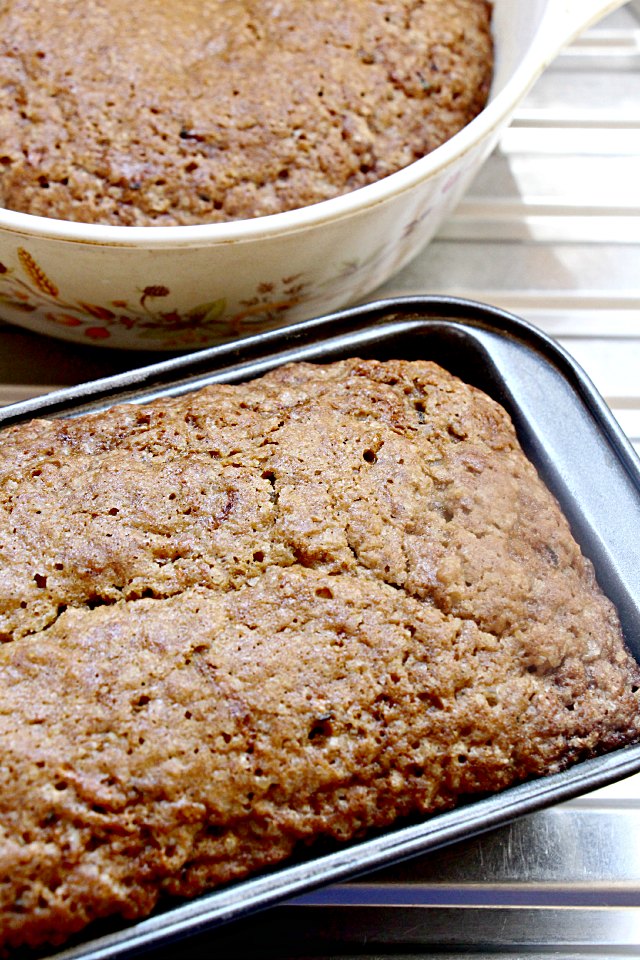
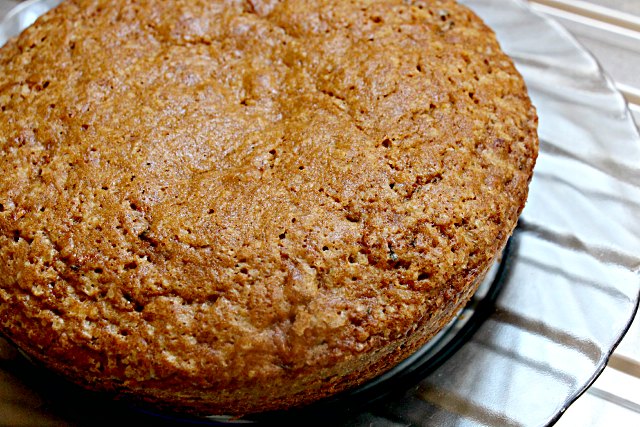
Everything looked pretty good coming out of the oven.
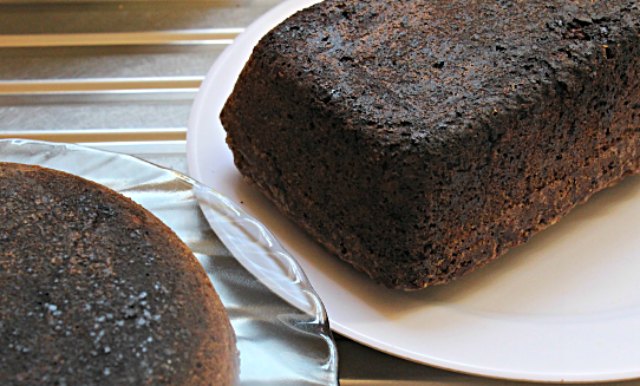
 BUT, upon closer inspection, it turned out the bottoms had burned a bit. I attribute this to the weird way my oven heats. I had the bread in the oven for about 55 minutes. I should have pulled it out at 50 or slightly earlier. Lesson learned for next time.
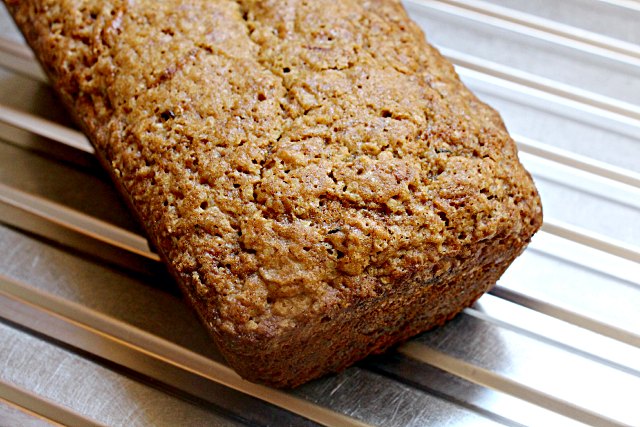
 No worries, though, I just cut off the burnt bottoms. And voila! Ready to eat!
 (I know it’s a little odd, but I really enjoy photographing the food I make. I’m a wannabe food blogger, I guess. I’m sure that the others in the house think I’m nuts when they see me taking the pictures. Someday when I’m a famous food blogger it will all make sense.)
~~~~~~~~~~~~~~~~~~~~~~~~~
One side note story about the casserole dish I used to bake the second loaf–we normally use that to carry the eggs we buy from our neighbor so when Elly saw me pulling it out of the cupboard she got very excited and kept saying, Maiyai! Maiyai! (Eggs! Eggs!). She was completely destroyed to learn that we had plenty of eggs in the cupboard and she was not going to get to go to the neighbors to collect more.
